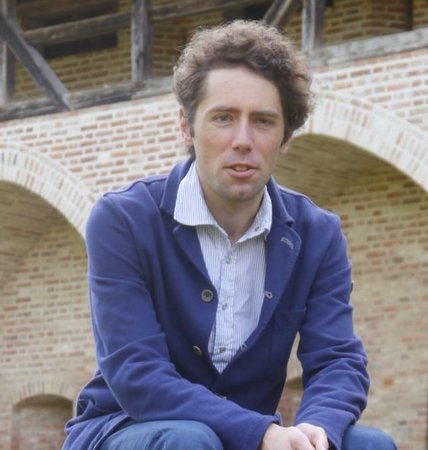
The German artist Martin Gerstenberger sums up his approach to sculpture with one simple principle: “everything is allowed.” In his case, this means pulling references from some very different tangents in art history— Outsider and Street Art on the one hand, and Surrealism and the Bauhaus on the other, with perhaps a splash of inspiration from the Playmobil toys of his native Germany thrown in for good measure, all brought together with his preferred materials of found wood and spray paint.
Here, the Artspace Artist Direct member takes us step-by-step through his process, from a pile of discarded junk to a finished work of art. To see more of Gerstenberger’s playful (and affordable!) artworks, browse his work on Artspace here .
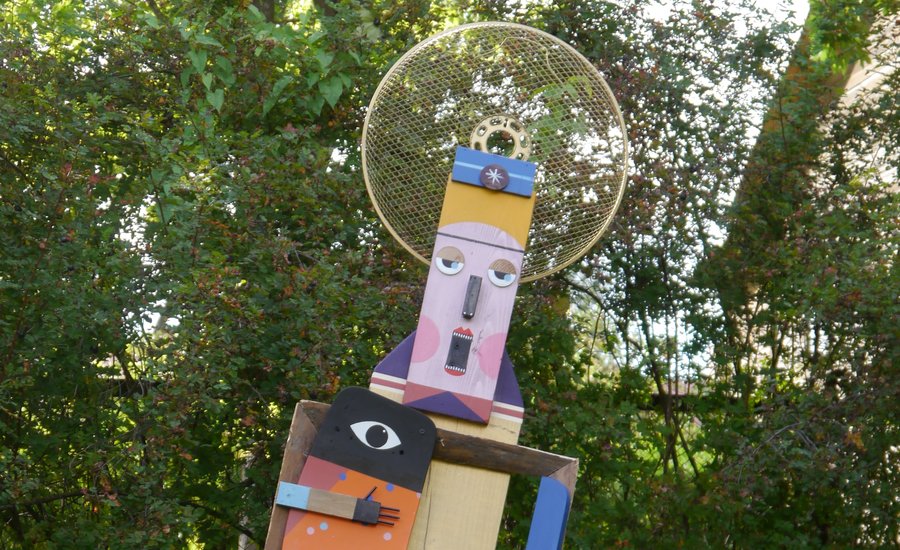
My sculpture Saint and Monster was built during the Stencibility Street Art Festival that took place in September 2016 in Tartu, Estonia. I was invited to this event to create small sculptures to be shown on the streets of the town, but decided to do a bigger piece as well—I had plenty of material and a week with sunny weather to work.
Before my arrival, I had asked the curators to collect a lot of old wood and other useful vintage material—seeing the materials was like some kind of Christmas surprise. As you’d expect, they fell somewhere between “not useful” and “wow, what a find.” For me, it turned out to be the proverbial treasure from another person’s trash.
The first step was to sort out some pieces that could form a sculpture and get inspired by their shapes and structure. I already had the idea of creating a humanlike sculpture, and luckily I had the right objects to realize it. I’d previously done a drawing called Woman and Monster , which I decided to use as an inspiration as well. Of course, working in a big garden full of apple trees and old wooden buildings felt like the perfect surroundings for my neo-folk style.
The second step is to lay down the parts of the figure, to see if they fit as parts of the body and can be easily fixed into place. This process has a joyful touch—like a child playing with wooden blocks. It’s the most cheerful part for me.
Next, I had to decide which parts should simply remain in the found condition, and which need to get reshaped to fit their part of the sculpture’s body. Reshaping means different things for different pieces—cutting the length, sawing out a more fashionable body shape, or just sanding the surface to prepare it for painting.
Certain parts needed some special treatment—it’s hard to find pre-shaped parts that already look like a hand, for instance. Fortunately, the piece that I thought might work as the head already had an old handle attached to it that worked perfectly as a nose.
With a studio room full of colors, choosing the right ones can be a hard decision. As I wanted to be safe, I fell back on something that has worked well in the past—my Bauhaus-inspired color scheme. Spray paint lets you color the pieces fast and easily, meaning you can spend more time for the details that need to be done the old-fashioned way with brushes.
Time was running out and I knew I still had to build smaller sculptures in the upcoming days, so I was looking for useful stencils that could help to fix some nice graphical patterns—as you can see, found one. I formed the rectangles with the help of some sticky tape.
After the paint dried in the sun and I took a break under the apple trees, I started to affix the first parts with the help of a drilling machine, screws, and wood glue. There are always parts that need another round of reshaping—unfortunately, this often becomes apparent when they’ve already been fixed in place. Nevertheless, it’s worth doing.
After another day of screwing and gluing, all of the pieces finally came together as a sculpture—all ready for its photo shoot and final placement in the streets of Tartu.


